One of the first things I ever
pinned was an image to wood transfer.
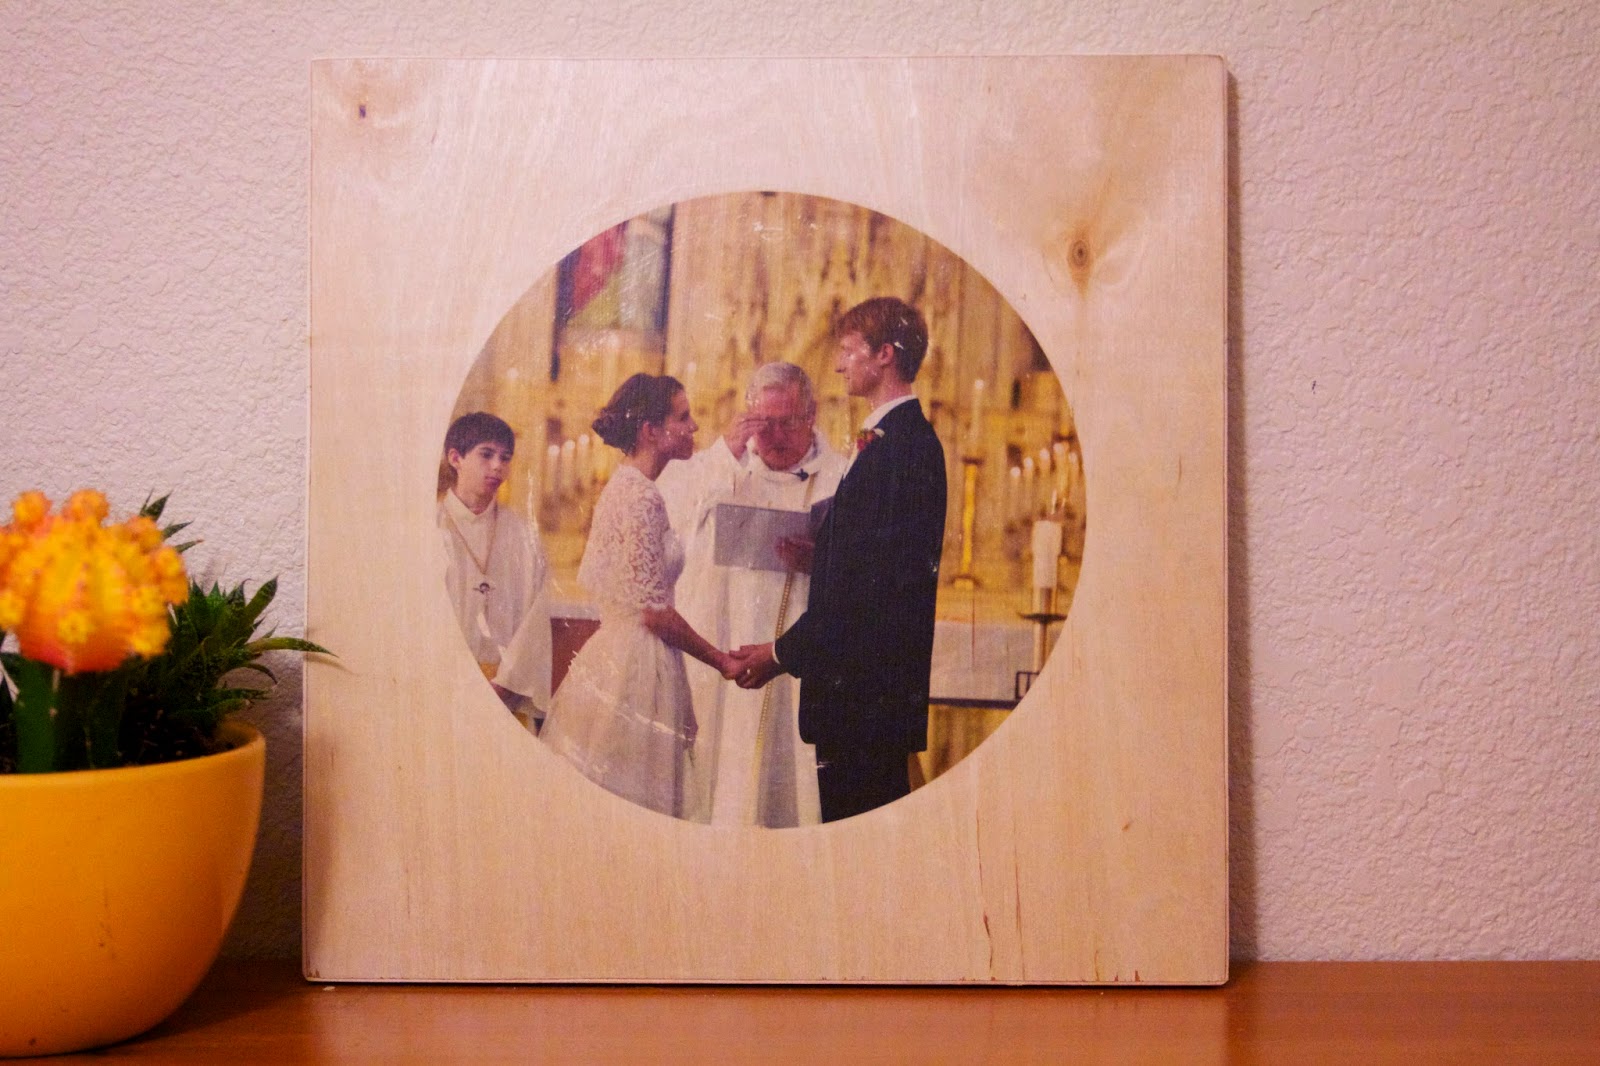
I used this tutorial here. I have since done lots of image transfers - usually I break it out for the tighter Christmases. I think it's a pretty magical DIY.
And the magic is all in the
Liquitex Gel Medium which you can get from Amazon or Michael's. The Gel Medium lifts the link off of a printed piece of paper and adheres it to another surface.
MATERIALS
Image Print Out (flipped)
Piece of Wood or Plywood
1. Sand and clean your wooden surface. Or get your husband to do it.
2. Print your image with a laser jet printer. But before you print it out, flip it horizontally (you can do this with Mac's Preview App so you don't need any fancy software.) Use the cheapest flimsiest paper available. I print mine out at FedEx and I make two copies just in case I botch the first one.
Trim off excess paper.
2. Cover your image with
gel medium. Or cover the wood surface with gel medium. Or do both.
3. Press the paper - image side down - onto your wooden surface and smooth out any bubbles in the gel. I use a credit card to help with this. Let it dry completely. I usually just leave it for a night and come back.

4. Once the gel medium is totally dry, moisten the paper with a washcloth. Make sure it's totally soaked and then begin to rub off the paper. This is the most time consuming part.
Do it slowly and don't press too hard or you might lose patches of ink.
I recommend working on the key parts of the image (faces?) first. You will almost definitely lose flecks of ink during the process. That's fine and is even kind of charming - but sometimes you accidentally los a nose or something and it's just not worth finishing. When this happens to me, I just let the paper dry back out, grab some sandpaper, and start over from the beginning.
The paper comes off in layers. You might have to do this step in two or three shifts because as the water dries you will better be able to see lingering fibers of the paper.
Rewet it and carry on.
5. Once you've removed all the paper and it's dry, cover it with Mod Podge. Maybe give it a couple coats.
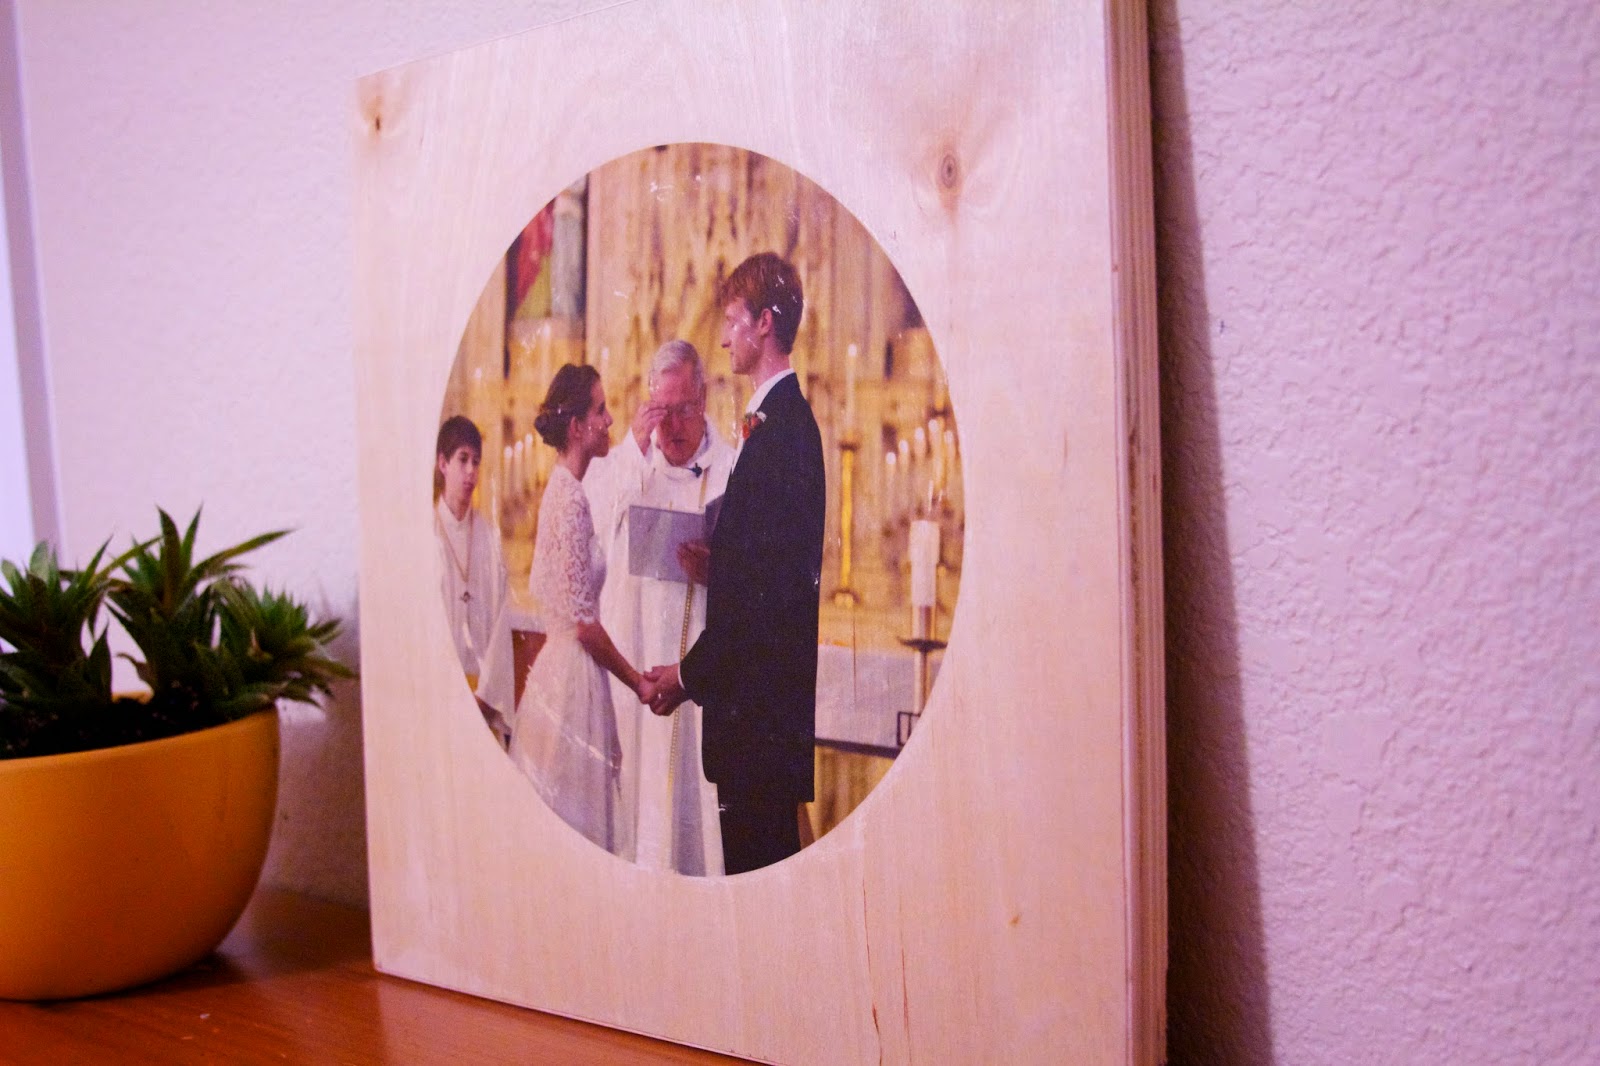
And you're done.
Consider taking a picture of it in another room next to a succulent.
I'll eventually update this post with more images when I finish the other two pieces I was working on - I had to scrap one because I'm a dummy and the horizon was at a 30 degree angle. I had to scrap the other because I lost some ink and nobody likes a cyclops bride.
Good luck with your image transfers, and I'm happy to help you troubleshoot!


