

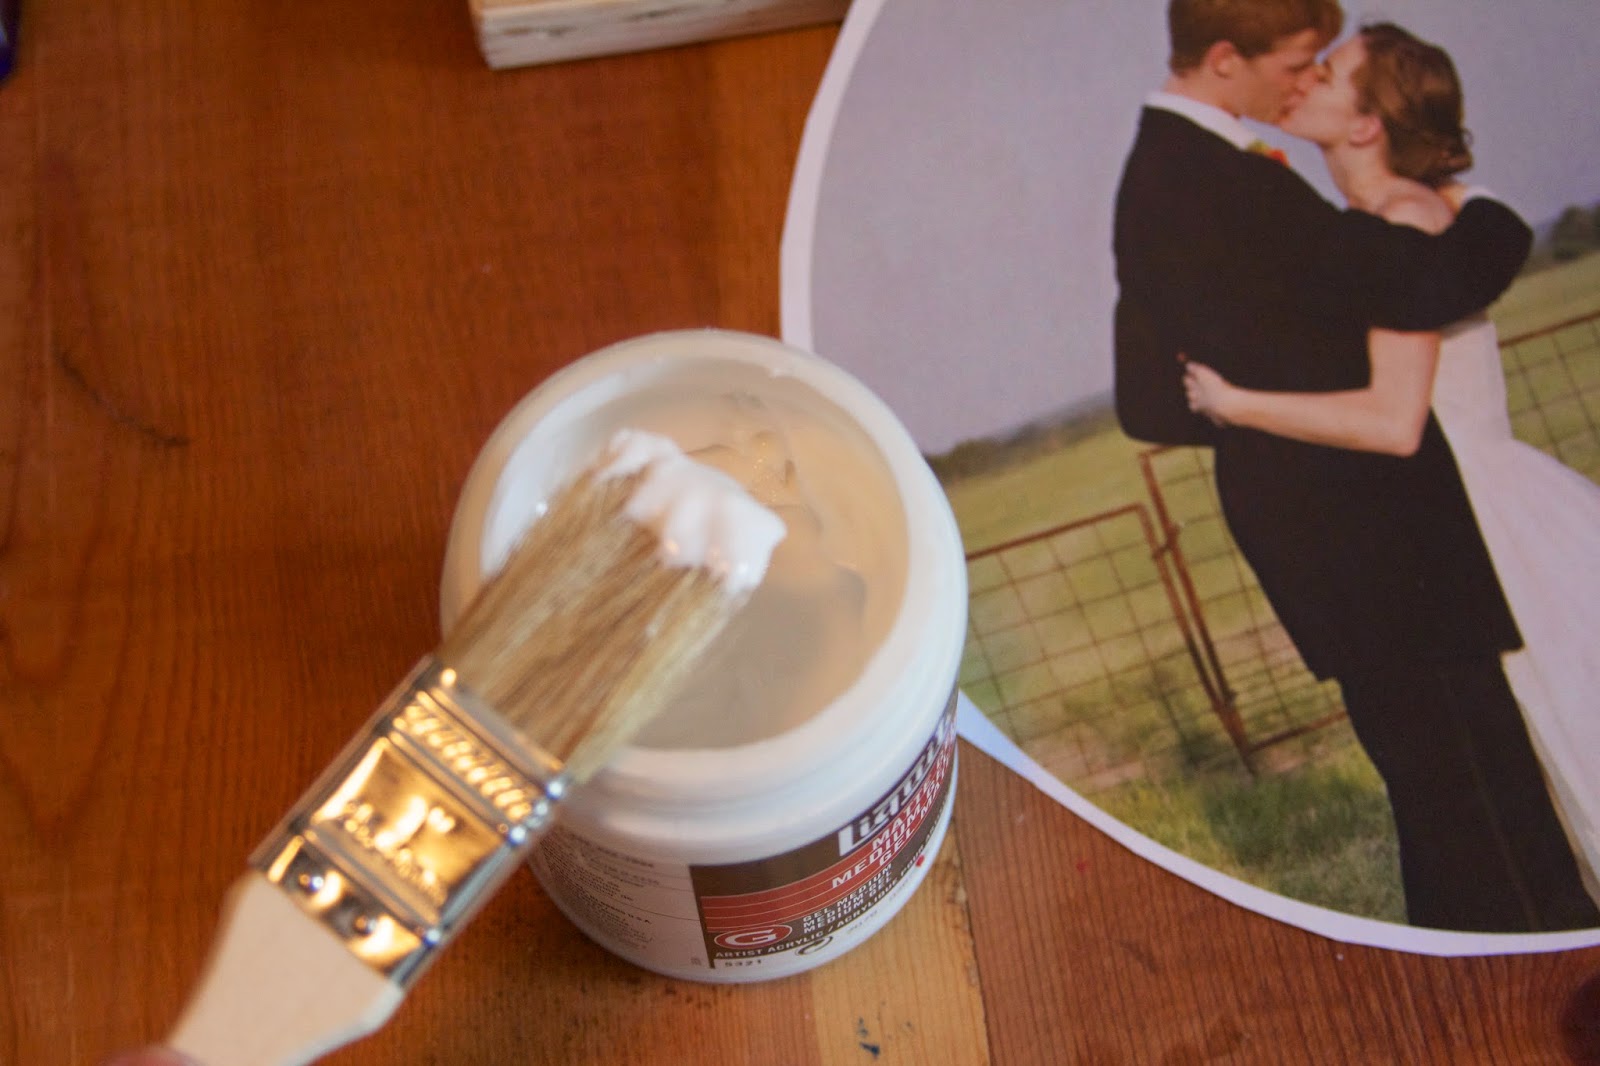
And the magic is all in the Liquitex Gel Medium which you can get from Amazon or Michael's. The Gel Medium lifts the link off of a printed piece of paper and adheres it to another surface.
MATERIALS


Image Print Out (flipped)
Piece of Wood or Plywood


4. Once the gel medium is totally dry, moisten the paper with a washcloth. Make sure it's totally soaked and then begin to rub off the paper. This is the most time consuming part.
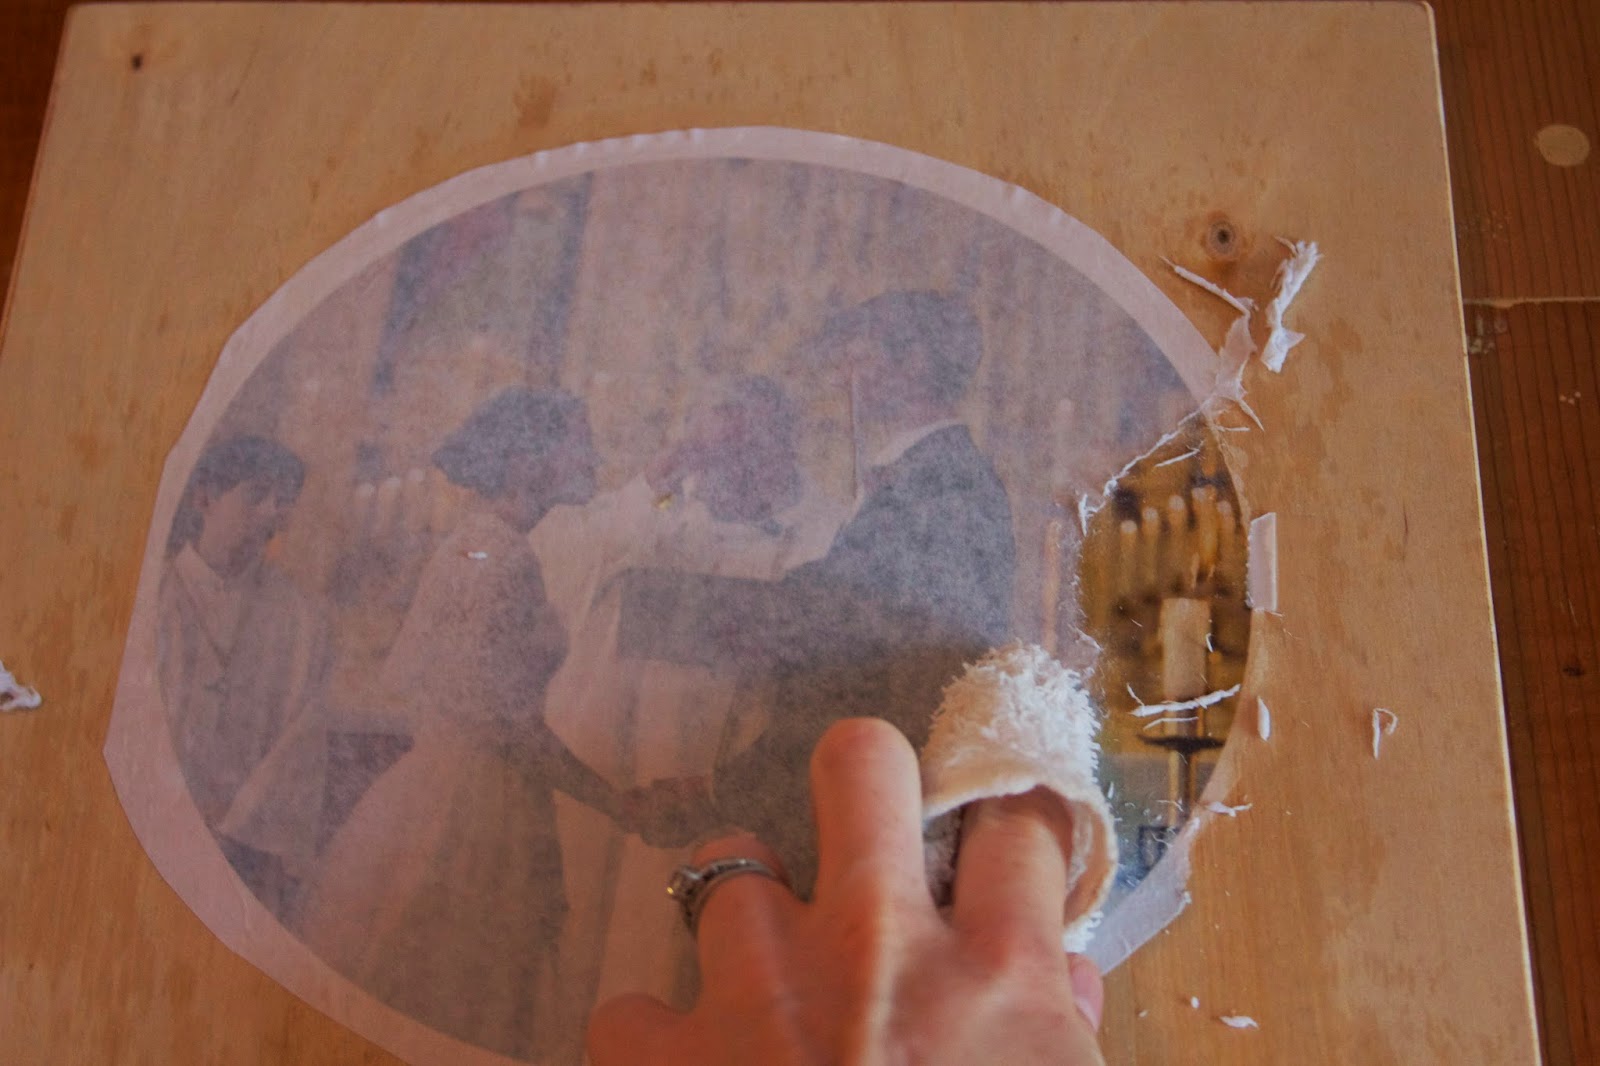
Do it slowly and don't press too hard or you might lose patches of ink.
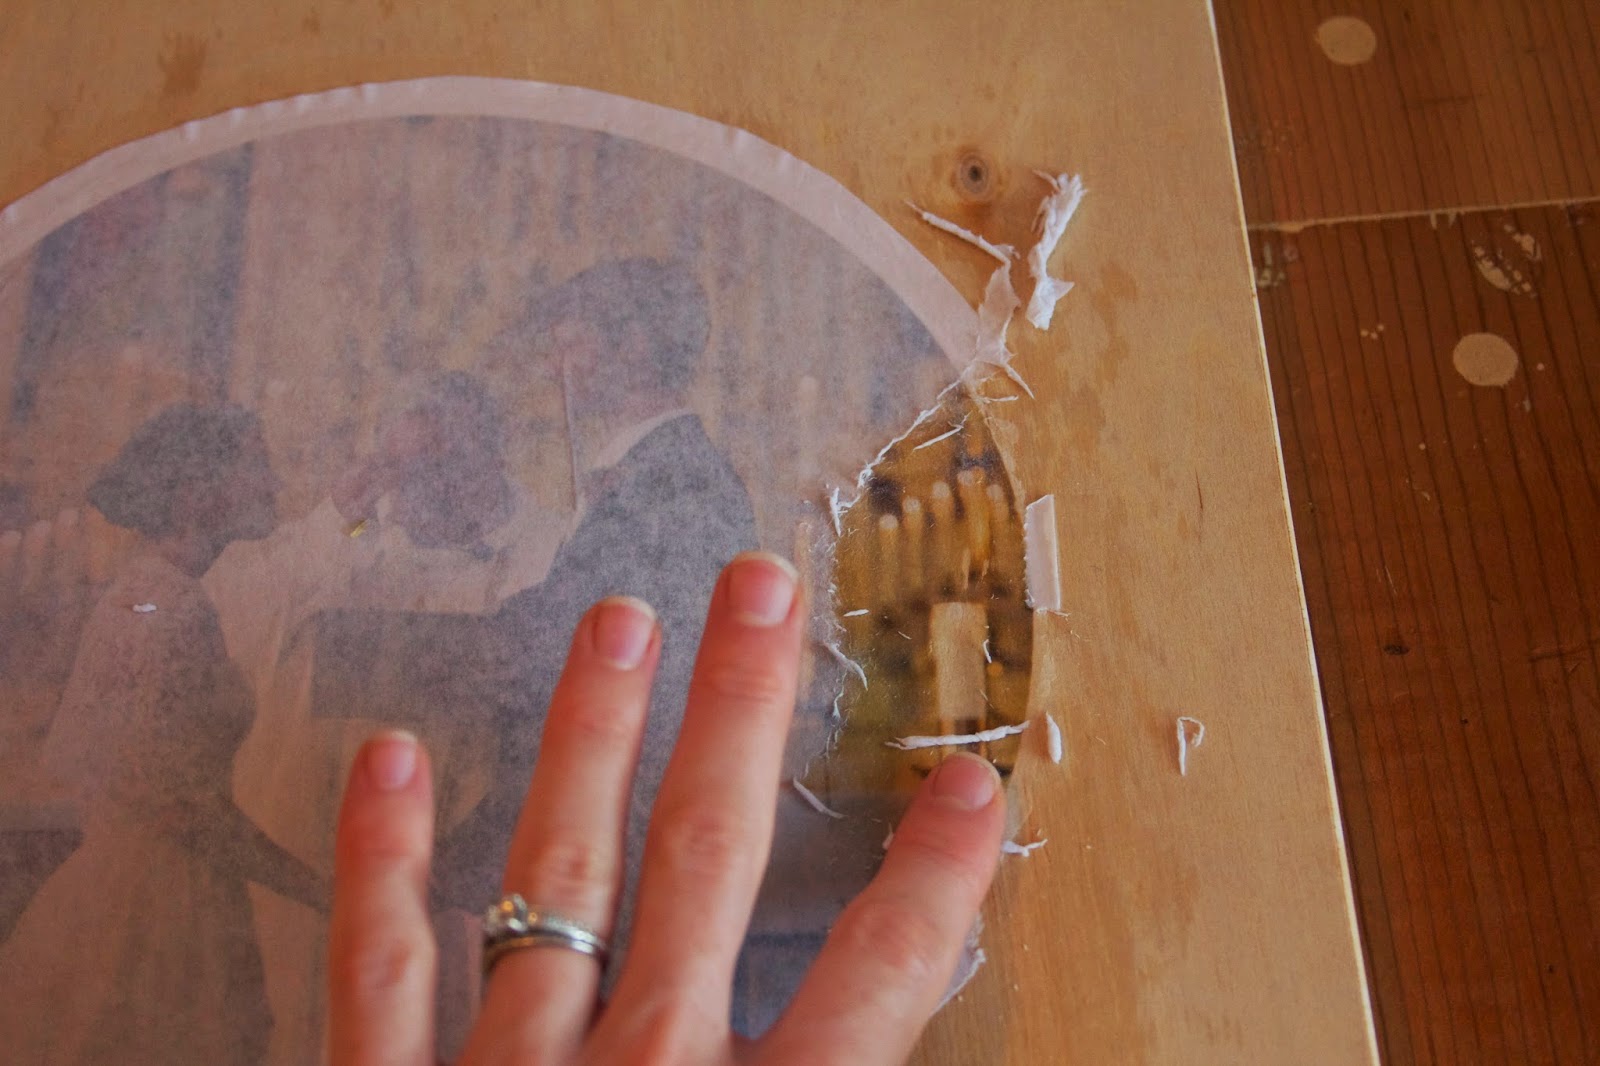
I recommend working on the key parts of the image (faces?) first. You will almost definitely lose flecks of ink during the process. That's fine and is even kind of charming - but sometimes you accidentally los a nose or something and it's just not worth finishing. When this happens to me, I just let the paper dry back out, grab some sandpaper, and start over from the beginning.

The paper comes off in layers. You might have to do this step in two or three shifts because as the water dries you will better be able to see lingering fibers of the paper.
Rewet it and carry on.
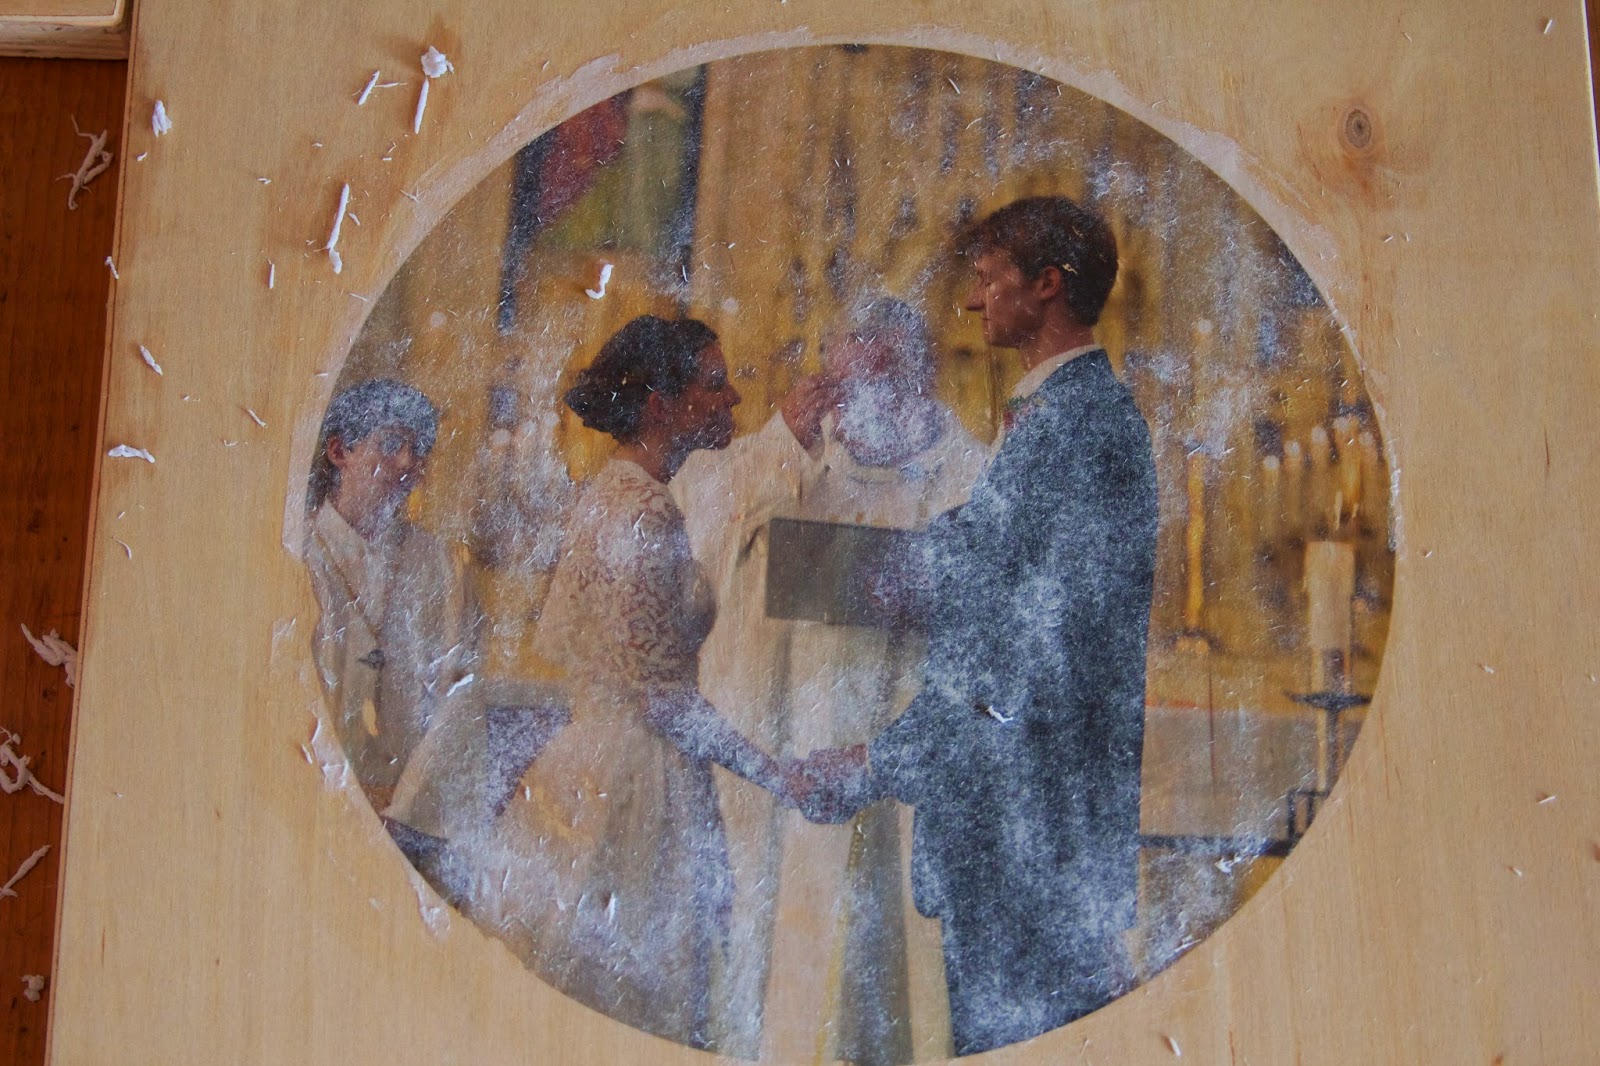
5. Once you've removed all the paper and it's dry, cover it with Mod Podge. Maybe give it a couple coats.


Consider taking a picture of it in another room next to a succulent.

Good luck with your image transfers, and I'm happy to help you troubleshoot!
I love it! I've used Mod Podge a lot but, that gel medium is so cool. Someday, someday maybe I can do this.
ReplyDeleteLooks great!
ReplyDeleteBeing rather craft-impaired, I just gave iron-on t-shirt transfers a try for the first time last month, SO... I'm thinking I can eventually work up to wood transfers--especially if the pay-off is so rustically pretty. Nice job, lady! PS. Total bridal envy over your dress and lace jacket.
ReplyDeleteAh! I love it!!
ReplyDeleteCountry Girl's Daybook
Good post but I was wondering if you could write a litte more on this subject? I’d be very thankful if you could elaborate a little bit further. Appreciate it!
ReplyDeleteehealth411.com |
Very good time! could oughout pls help me to possess a ym detector scanner? Someone employed our acct and may detector protection identify if the cyberpunks additionally watching the wife’s spy cams whilst we are going to chatting? thanks a lot!
ReplyDeletewww.crupetech.com |
That’s right! I really admire Cary’s work.
ReplyDeletehttp://www.perusoutherntours.com |
It’s nearly impossible to find experienced people in this particular subject, however, you sound like you know what you’re talking about! Thanks
ReplyDelete00k.biz |